Geekletters

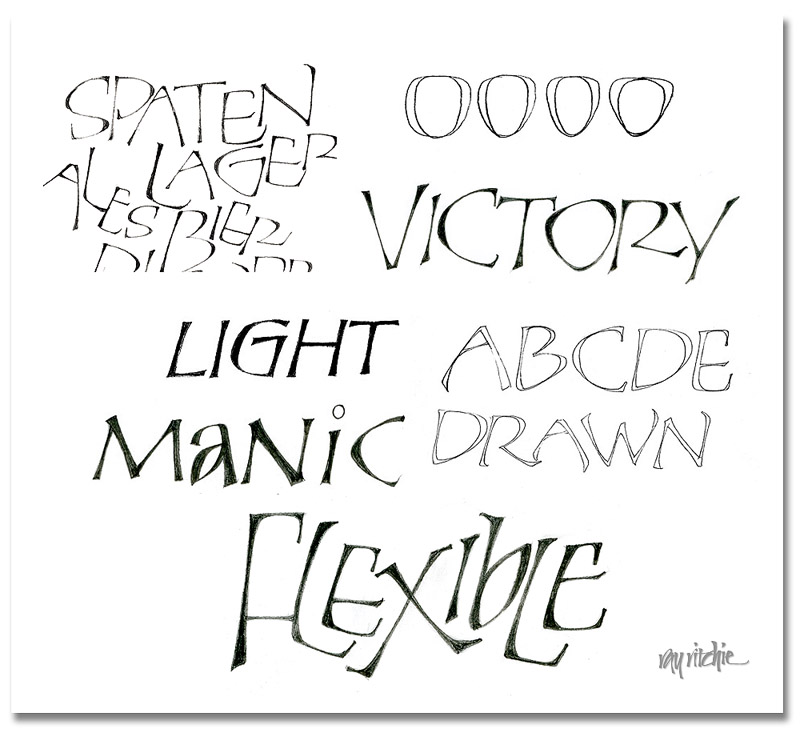
I promised to show some more examples of the Perkins-inspired letters, which we’ll call “Geekletters” for now, lacking a better word to cover a fairly broad category. Here’s a paste-up of examples from various scratch sheets that I had on my drawing board:

In the upper left, you see a crop from the original letters for the Beer Geek poster, which were first done as pressure-release monoline pencil shapes, and then were slightly retouched to add weight at various points. One of the original distinguishing characteristics of the “Perkins” caps for me was their use of a somewhat triangular shape in most of the curves. You can see this illustrated in the row of four “O” shapes at the upper right. This row progresses from a shape that is almost a classical “O” (though a little more of an “apple” shape) to a shape that is distinctly triangular. In the word “Victory,” you can see that the O, C, and the bowl of the R have taken on this triangular shape. To the left of that word, however, you see the word “Light,” in which the G still retains a more rounded (here, almost square) form.

The word “Manic” illustrates another quirk – I often mix caps and lower case forms within a word. This can give a distinctive and eye-catching quality, and breaks the monotony of seeing the same forms over and over.

The drawn nature of the letters is illustrated by the “ABCD Drawn” lines, which are an un-retouched scan of my pencil lettering. When I’m doing these sorts of letters, I often do only a fairly approximate sketch of my idea in pencil, then scan it into Photoshop, and do all the final development of the letters there, using my Wacom tablet as my pen and paper.

One of the main reasons I love pencil lettering is that it’s extremely flexible, as in the word “Flexible” above. Here you can hardly recognize any of the original Perkins origins, and yet the letters evolved from the same source as the other examples above.

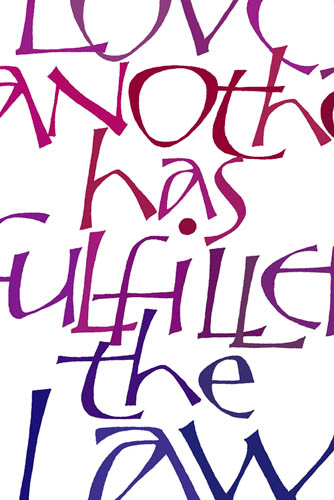
Here’s a color example, cropped from a piece based on Romans 13:8:
I’m still looking for a good name for this letter family, and would welcome your thoughts.

Pure and Simple

It seems that every time we enter a new election cycle, the public appetite for simple solutions to complicated problems increases. We hear calls for the “simple, unvarnished truth,” as though there really is someone somewhere who is sufficiently wise to discern what that might be, given all the unknowns and complications we face.

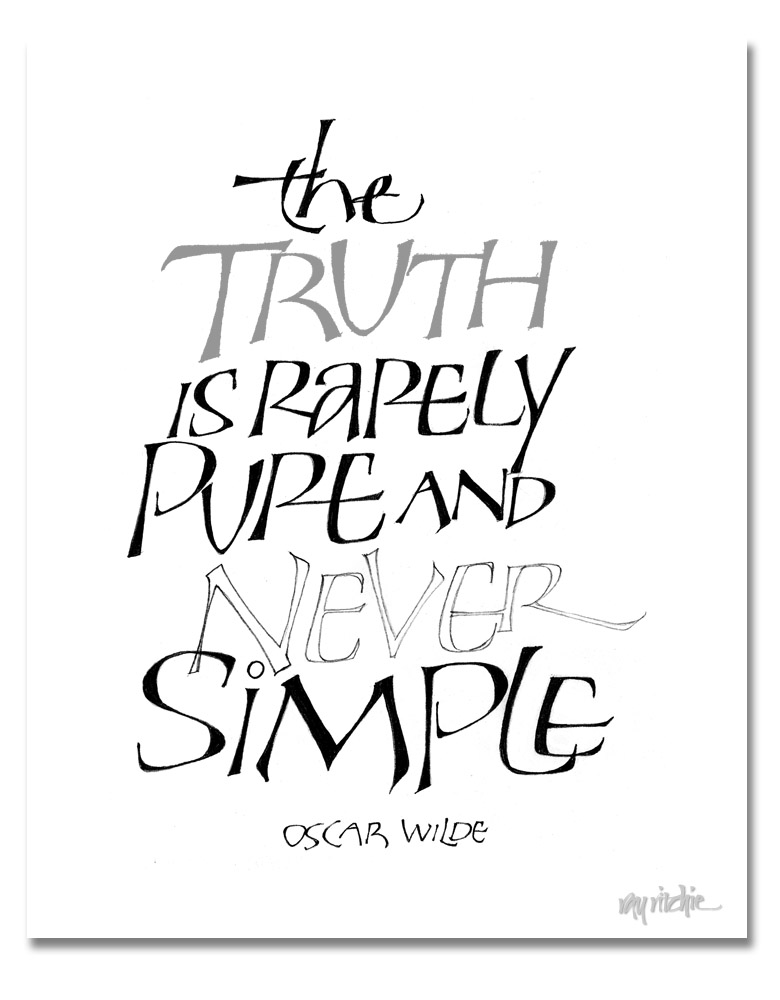
I got some queries about the lettering on the Beer Geek poster in the previous post, and I thought I should do some further posts about that style of lettering. As I was thinking about that, and as I was reading the latest reports of the political posturing going on across the country, I was reminded of this quote:

I started doing letters like this a number of years ago; I usually think of them as “Perkins Caps,” because I originally started doing them after seeing some work by Tom Perkins. I really haven’t studied Tom’s work for years now, though, and my forms have continued to evolve, so I need to think of a new name for them, and stop blaming Tom for something for which he should bear no responsibility. Maybe I should call them “Geek.”

The letters above are a heavier-weight form related to the letters of the previous post. They are a drawn and filled form. They start out for me as pencil outlines – you can see an example above in the word “Never.” I usually outline with a fairly hard pencil, such as a 3H or 4H, and then fill them in with something like a B or softer. Doing this kind of lettering is a slow, deliberate process, much like doing any other kind of pencil drawing, but it allows great control over the forms, and lots of flexibility, since you’re constrained only by your imagination. I’ll show a number of variations in the next post.


Graphic botanicals

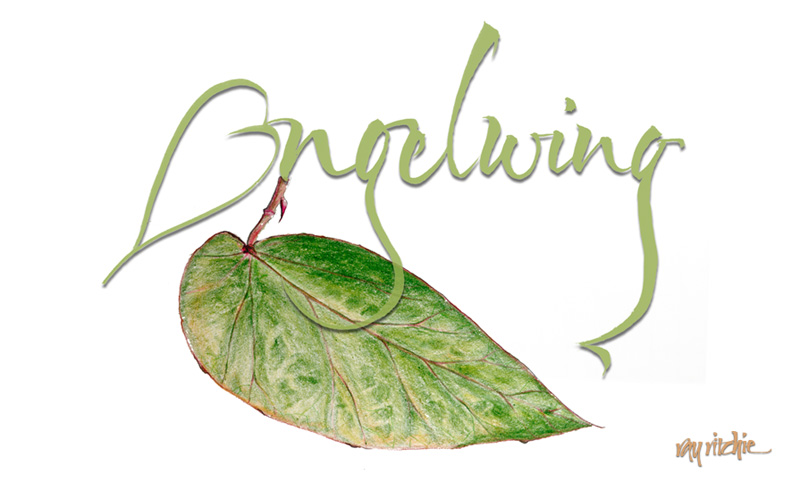
One of the plants we brought home to New Jersey from my mother’s collection was an heirloom Angelwing Begonia. Mom got her plant as a cutting from one of her mother’s plants, and there seems to be some family lore that suggests Grandma got it from her mother. I think the Angelwing Begonia was first hybridized around 1926, so that could be about right to support the oral tradition. Mom had propagated numerous cuttings of her original plant, and after she died, my brother was trying to make sure everyone knew where they came from, and to send a plant home with each member of the family. Recently I was using this plant as a model for my continuing study of botanical art, sketching with colored pencils. After I sketched the plant, I was playing around with the word “Angelwing” with my brush, and decided I’d like to combine the sketch with the lettering. Here’s the current layout:

If you have thoughts about other ways to combine these two elements, I’d welcome your comments!

Great things

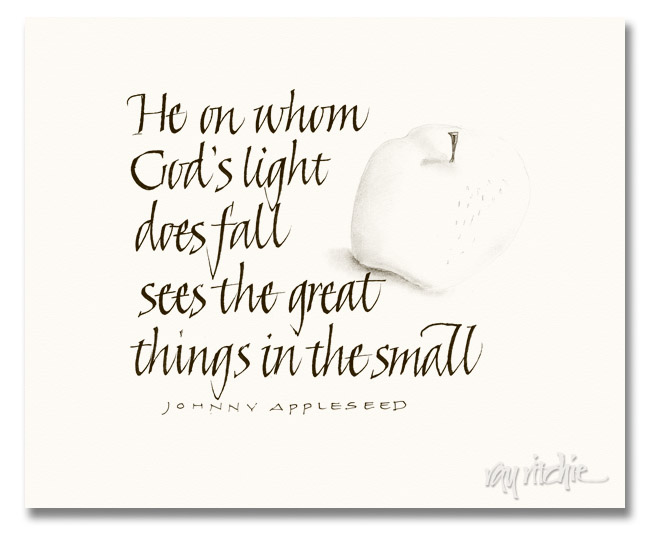
From the sketch pad last week:

I’m not sure about that attribution of the quote. I gave it to Johnny Appleseed (John Chapman) because we have some wallpaper that includes the quote, and the title of the pattern is something like Johnny Appleseed Prayer.

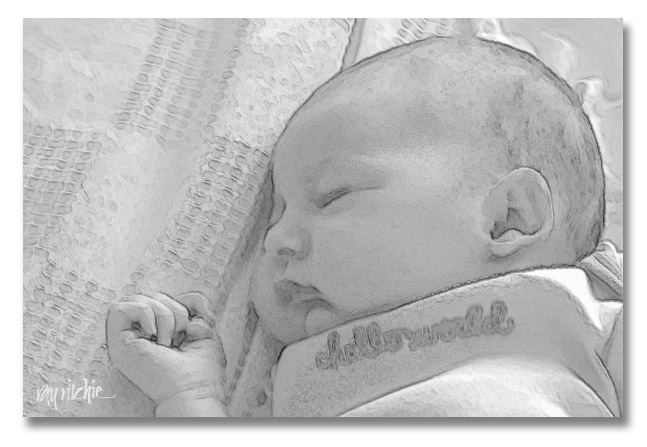
The great thing that has happened to me this past week is that I became a grandfather to little Anna. She seems so tiny, even though she’s probably slightly above average in size for a three-day old infant – how quickly we forget. Anita and I are enjoying our chance to get to know her, and she’s being quickly taught that her grandfather will have a camera in her face a lot of the time. Here’s her Photoshop sketch portrait:

The sketch was done by a black and white conversion (Image>Adjust>Black and White), followed by a couple of filters (Watercolor and Drybrush). I then duplicated the image in a second layer and used the Find Edges filter, and reduced the opacity of that layer until I was happy with the overall result.

Welcome to the family, Anna!

Hostas

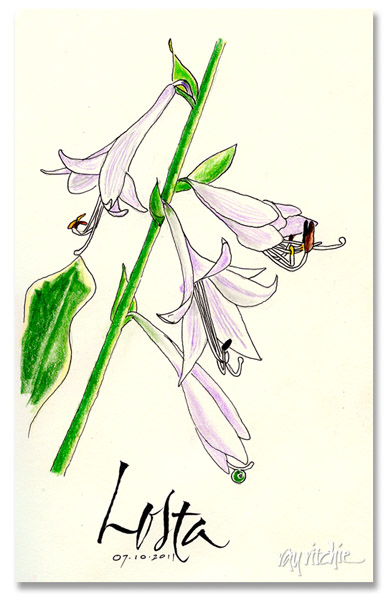
Following up on the photo in the previous post, I was playing around today with sketching hosta blooms in my sketchbook. Here’s my sketch, in pencil, ink, and colored pencil (title lettering done with the Pentel brush pen):

I have a ways to go before considering myself a botanical artist. This kind of sketching is a challenge for me, because it requires that you see things in such detail. You start to draw a leaf, thinking of it only as a green oval shape, and then you see that, no, the tip is turned up, and you’re seeing two surfaces at once on the same leaf. You start sketching the petals of the bloom, and you realize that they overlap each other in a very particular order. And when you’re sketching from a photo, as I was doing here, you have to mentally translate from a two-dimensional view of the plant to a three-dimensional model in your mind, and then pick which lines and contours you will draw in order to turn in back into a two-dimensional sketch.

A Cyberscribes (see link at right) acquaintance, Bonnie Noehr, recently posted that she was taking summer courses on botanical drawing. I thought this was intriguing, so I asked her for further information. She’s taking her class in Woodside, California (a little far for someone living in New Jersey), but she sent me this link listing classes in a variety of locations. With our first grandchild due any day now, I’m not sure I’ll get around to the classes this year, but it’s one more idea for the “someday” list.

Bonnie, by the way, is a past winner in the Graceful Envelope contest. You can see her winning envelope here.

Independence Day

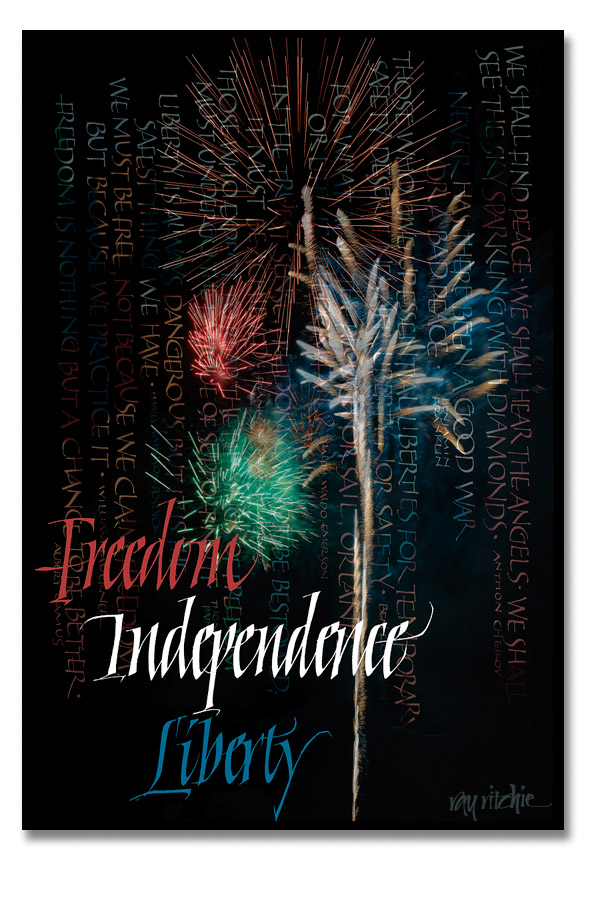
We usually go to the local fireworks display over the 4th of July weekend, but this year it was on July 3rd, and we were having local thunderstorms until very close to the time for the show, so we decided to skip it. But it seems they went ahead anyway, despite our absence, if I can believe the barrage of explosions I heard around 9:00 that night. Today I regretted not having gone, and decided to set myself a task of creating an Independence Day piece as a substitute for the first-hand celebration.

Having gone, camera in hand, to the fireworks display so many times in the past meant that I had lots of fireworks pictures on hand, so I composited several of them together in Photoshop to make up my background. I then dug into my quotes files and searched the Internet for quotes on independence, freedom, and liberty, and created a page of quotes, along with some headlines. I colored my quotes with colors sampled from the fireworks display, and then faded it into the background, before adding some headline title text to the foreground.

Here’s the finished product:

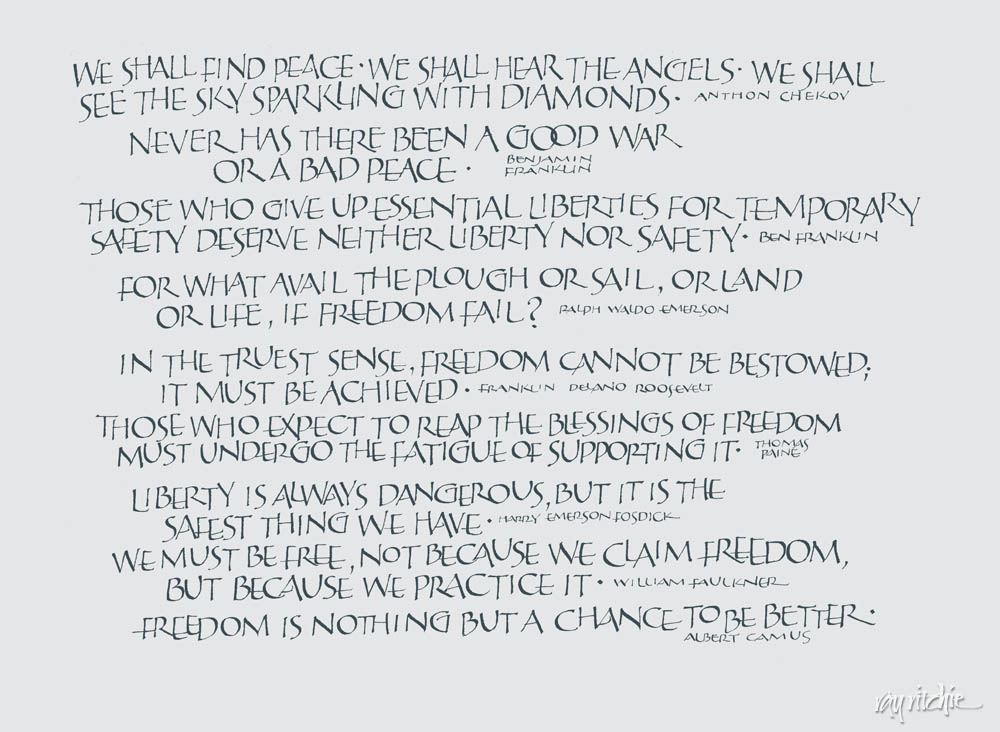
For those who’d like to be able to read the quotes a little easier, here’s the original quotes page:

I can see a lot of little imperfections to criticize, and will probably make some improvements to the piece if I decide to actually use it for anything other than this blog, but it was a fun project for the day. Hope you all had a great 4th.

ADDENDUM: We decided to run out for a celebratory hot dog in the evening, and discovered that we were wrong – they cancelled the fireworks on the 3rd and postponed them until the 4th. So we found ourselves stuck in the middle of a huge traffic jam, both on the local streets, and in the parking lot of the Jerzee Freeze. We could have stayed and watched the fireworks then, I guess, but there were no parking spots left, so we just came home. We were rewarded, though, by a spectacular crimson sunset just as we turned onto our road. Nice end to the holiday.

Cold water

This was the callidoodle for the week, as it found its way into my notebook:

The original version was a pencil sketch, and didn’t include the full verse, as the pastor was through the sermon before I finished my sketching. I took the sketch home and re-did it in my sketchbook, using pencil, colored pencils, and a 005 Micron pen.

Having lost my mother in April, I couldn’t help but think of all the cups of water, kindnesses, and love, large and small, that she showed me throughout our lives together. As we’ve been cleaning out her house, we discovered that she had saved every letter and card that any of us had ever sent to her. We haven’t gotten around to reading them all, but it’s been a blessing to us – so much of the details of our lives 40 years ago had faded away into the recesses of my memory. I hope she felt loved as we shared them with her.

Learning to gesture

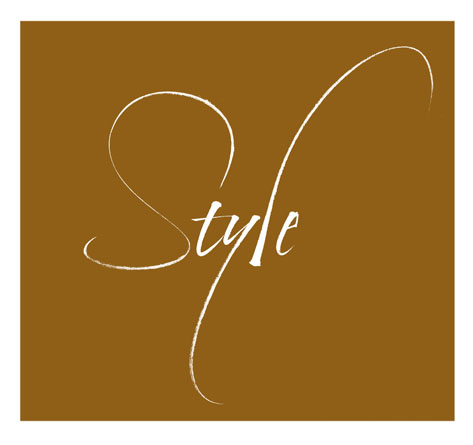
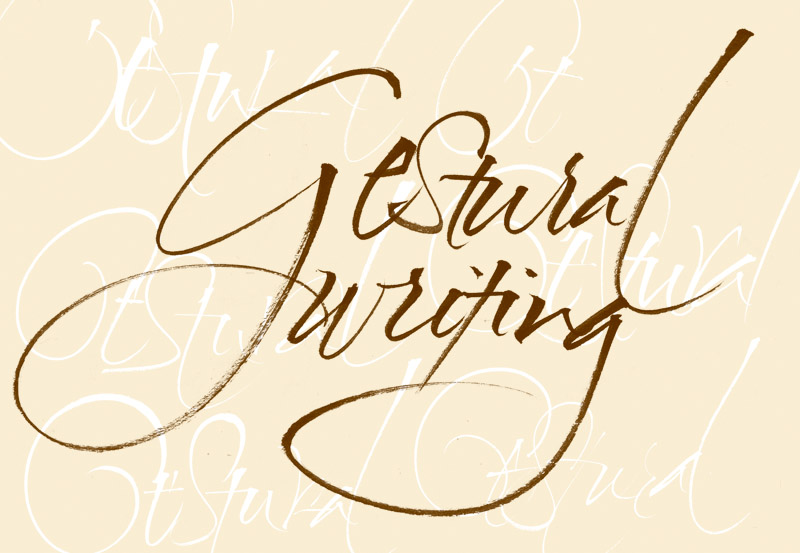
As mentioned in my earlier post on “Pencil Gestures,” I’ve been continuing to read Yves Leterme’s Thoughtful Gestures book, and practicing my gestural writing with a variety of tools. I don’t feel I’m really proficient at this yet, but I’ll show a couple of examples:

For those who haven’t tried this kind of writing, and in the interest of full disclosure, I should mention that while gestural writing is intended to look free and easily written, it’s often the result of a great deal of rehearsal and planning. The simple word “Style” above, for example, took me about a half dozen attempts before I was happy with both the shape of the “S” and the swash of the “l.” The second example shows, in the background, a number of different rehearsals of the word “Gestural” leading up to the final version in the foreground. I also did a number of different versions of “writing” before attempting the two-word pair.

The two examples above were done with a Pentel brush fountain pen. One supplier of that tool is John Neal Books, if you’d like to try it out.

Unfolding (and folding) Directions

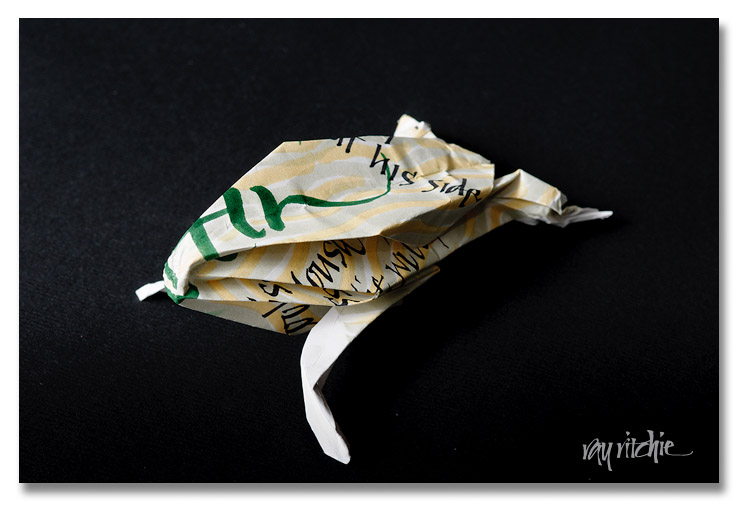
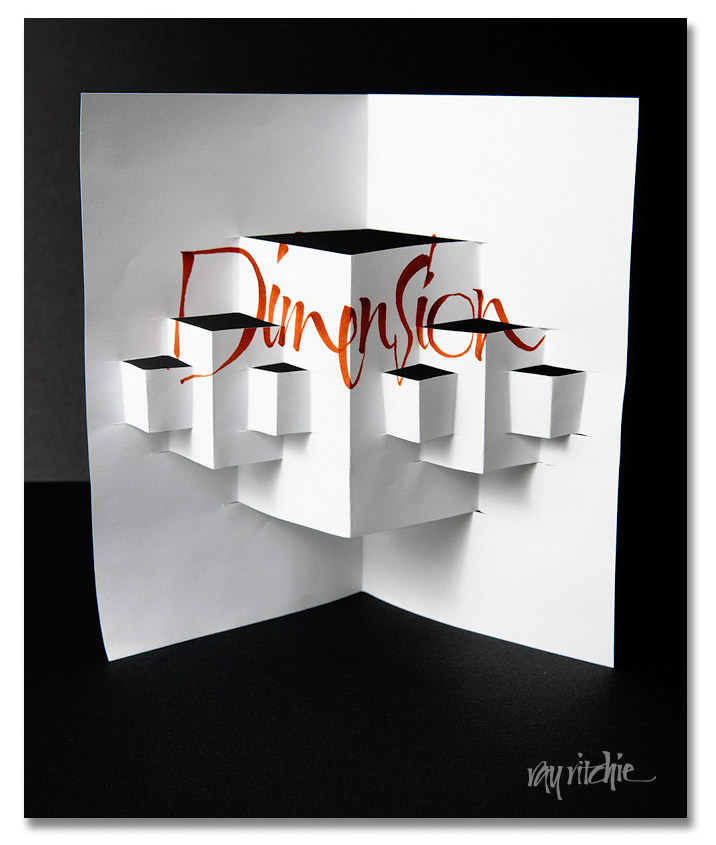
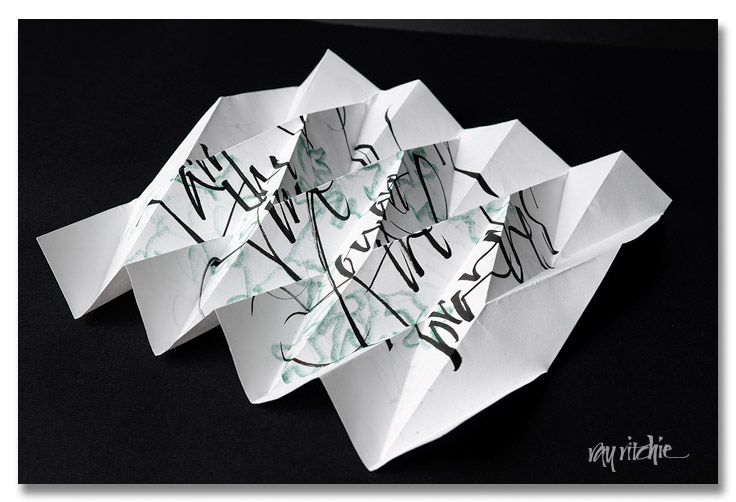
To follow up on the earlier post about folded calligraphy, here are three examples illustrating potential directions that the combination of calligraphy and folding can go:

We can do traditional origami, such as a frog design

or, we might use a more graphical, structural approach, say, for greeting cards, shadowboxes, and wall art

or, as in the example of the previous post, we can go with abstract sculptural approach

These are still just prototype examples, of course; I can see that there will be an art to be learned about where to put the calligraphy on the original unfolded paper if I want it to display best, but I’ve made no real effort to coordinate the placement with the folds at this point. And since I haven’t yet really decided what I might want to use this for, I don’t know if one of the three approaches is more relevant for me personally. Or maybe there are additional approaches I should consider. What do you think?

Pencil Gestures

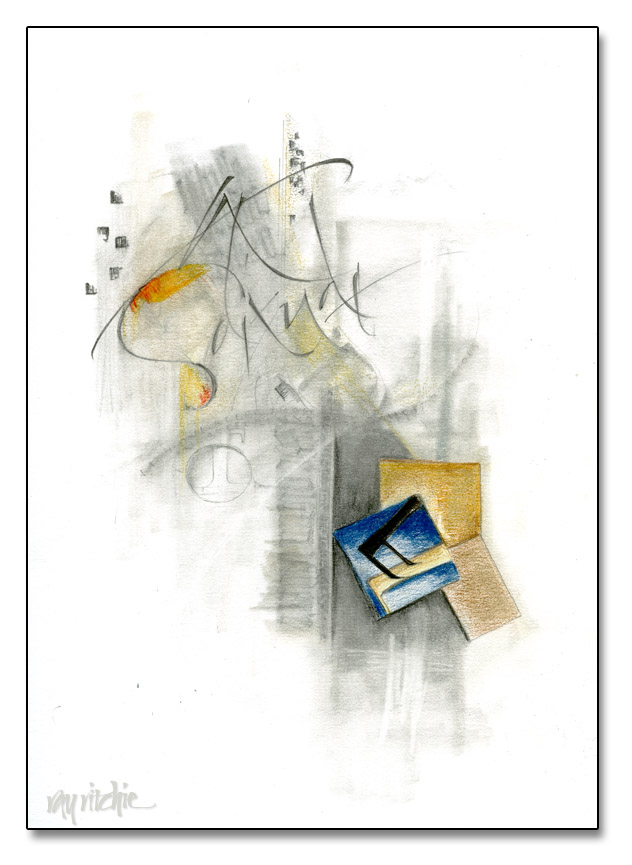
Last week I received my copy of Yves Leterme’s new book, Thoughtful Gestures, and I’ve been thoroughly enjoying reading it. I met Yves a couple of years back when he was teaching a class at a Camp Cheerio Calligraphy Workshop (I was in the other class, taught by Denis Brown), and I really resonated with the work he was doing and the work his students were producing. So for the past week or so, I’ve been playing around with gestural writing, trying to get more of a free feel to my work. A lot of my practice has been with a pointed brush and sumi ink, but as usual when I’m playing with something new, I also have done a lot of pencil work. Here’s an example, using graphite and colored pencils:

Solitude

Yves talks a lot in his book about his process of working with gesso, and how he will often wash things off and re-work and paint over portions of the piece as it develops. In the piece above, I did something similar by overwriting, smudging, and erasing. I want to continue to experiment with this process, and try the gesso process as well. More to come, I hope.