Folded calligraphy

A few days ago, in browsing the Roku for something interesting to watch, we happened across the documentary Between the Folds, by Vanessa Gould. This is a short film about the art and science of paper folding. I have played a little with origami in the past, but the level of skill and the intricacy of the patterns shown in this movie was so far beyond anything I had seen before that I felt an irresistible urge to pick up a sheet of paper and start folding.

As it happened, the closest sheet of paper to me was a piece of scrap paper on which I had been sketching ideas for a envelope design for my nephew Matt’s upcoming birthday (Happy Birthday, Matt!). I just started by making semi-random folds, not trying to create anything in particular, but folding the sheet into a fan pattern in one direction, then un-folding it and doing the same with the sheet turned 90 degrees, and finally, I started throwing in various folds that I remembered from simple origami patterns I had learned years ago. My main thought was just to create something with enough complexity of facets and textures that it might enhance or add interest to the calligraphy. Here’s a photo that suggests what can emerge from this process:
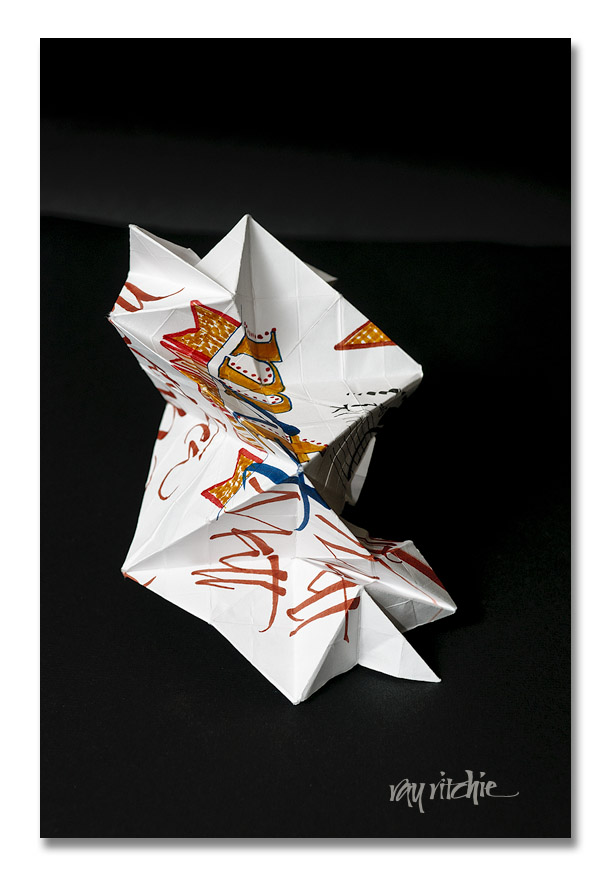
This was just a preliminary experiment, but the result intrigues me, and motivates me to want to learn more about the current state of the art in paper-folding. If any reader has had experience in combining calligraphy and folding, I’d be particularly interested in hearing from you!

Four keys

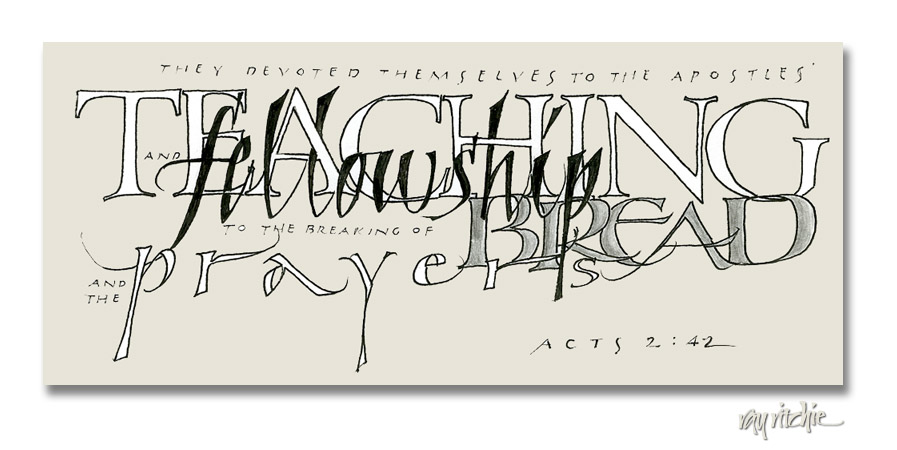
The sketch below is essentially another callidoodle, as it’s just a cleaned-up version of a quick sketch done during Sunday’s church service. The lectionary passage for May 15 was the portion of Acts where Luke reports some of the key factors that led to the rapid growth of the early church following Pentecost:

Pastor Ramon pointed out, though, that none of the four items emphasized above are really “key” in the absence of the word “devoted.” It was because of constant, intense devotion to these four items that the community grew.

My usual doodling tools for the callidoodles are just a pencil and a fine-point black monoline pen, but it’s hard to do layered calligraphy in pure black and white. My original thought was not really to layer, so much as to intertwine the four key words, as you see in the words “Teaching” and “fellowship.” When I brought the sketch home and looked at it some more, though, I decided that there wasn’t enough separation of the words for legibility, so I added a half-tone for the word “bread” using a pencil. If I were to further develop this sketch into a more finished piece, I might run the sketch above across the bottom of the page, and then feature the word “Devotion” as an emphatic vertical element. I’ll have to think further about that.

Pencil Doodles

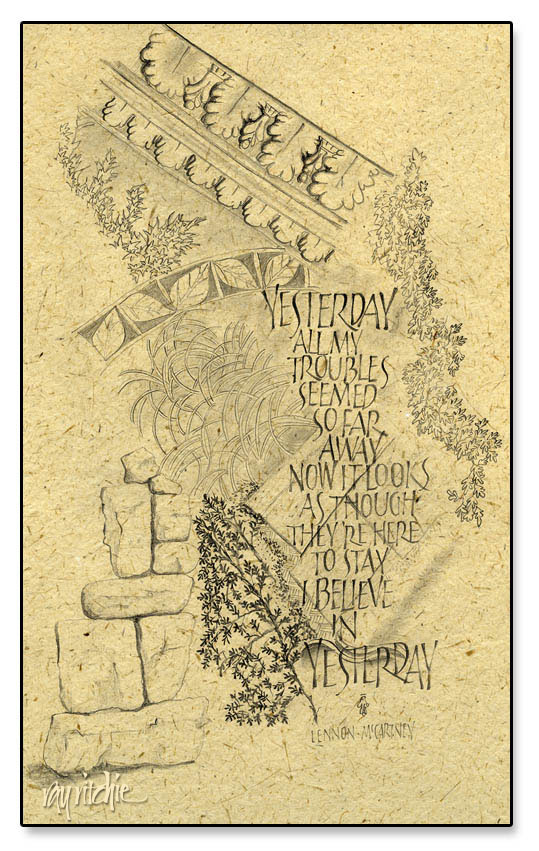
I’ve been reading a couple of books on art and drawing technique, and spending some time each day sketching on my lap board. Most of these sketches are really just doodles, and I’ve been concentrating on particular patterns and technique, rather than making any real effort at design. But I’ve been finding that interesting designs are emerging nevertheless, with no particular effort or conscious thought on my part. The background of the sketch below started with my copying the design of a piece of molding from a photo I had taken in the chapel at Les Invalides in Paris (site of Napoleon’s tomb). Then I began adding random other elements, with no intention of creating a unified piece. But when I looked at the page, I felt it suggested a sense of the past, and I thought of  the lyrics to “Yesterday” as a set of text. The lettering style is just something I had been playing with recently, and wasn’t chosen for any special reason.

This actually violates one of my usual practices, in that I try to avoid using copyrighted text – but since I have no plans to sell this piece, perhaps the Beatles lawyers won’t come after me. The original sketch was just done on white inkjet paper. I scanned a piece of banana fiber paper and then overlaid the sketch in Photoshop to give it a little more texture, and more of a finished appearance.

The books I’ve been reading, by the way, are Bert Dodson’s Keys to Drawing with Imagination, and Trudy Friend’s Artist’s Complete Problem Solver.  Both are full of examples and suggested exercises – good resources for a person like myself with relatively little formal art training.

Zen stones revisted

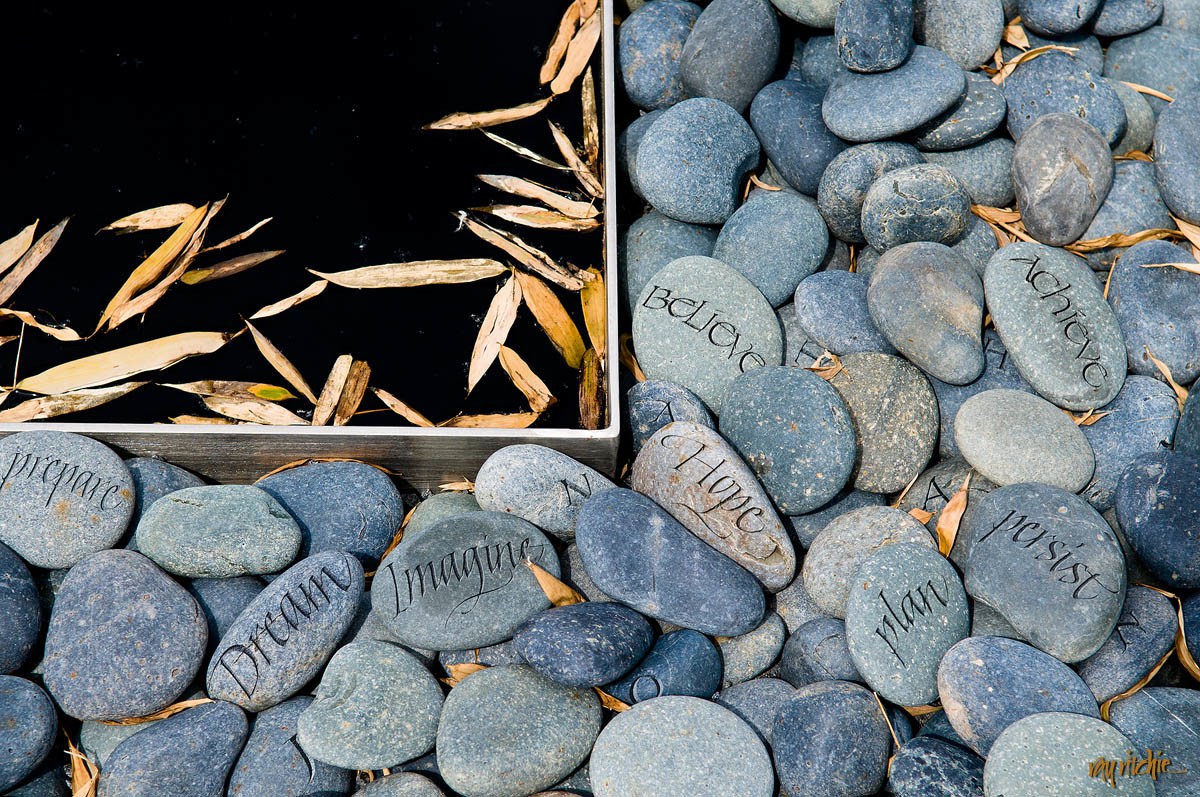
Some time ago, I made a post about “Image Seeking Word,” and asked for some thoughts about what words might be appropriate. During the Christmas season, someone who had seen the blog came to me and asked if I might make a customized version of that image for her son. She suggested that words like “Dream” and “Imagine” might be used, but asked that I pick some more of my own. Here’s what came out of that project:

The letters of the name of the recipient, “Jonathan,” are also sprinkled among the stones. Each word was written separately in black gouache, then scanned into Photoshop, and re-sized and warped to fit the contours of the stone, before finally being “etched” (using the Bevel and Emboss tools), so there’s a fair amount of work involved in using this many words, but I enjoyed it, and learned a lot in the process. I’ve since done a similar version, with a different name, for another customer.

I’d be interested in getting your feedback and further ideas about words for the image.