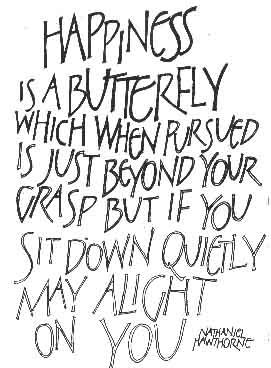
Next, I filled in the outlines, using a fine black pen and a Marvy "Le Plume" felt-tipped brush marker. Here's a scan I made as I was part of the way through.


|
|
|||||||||||
| Step 3: Fill in the outlines
Next, I filled in the outlines, using a fine black pen and a Marvy "Le Plume" felt-tipped brush marker. Here's a scan I made as I was part of the way through. |
|||||||||||
 |
|||||||||||
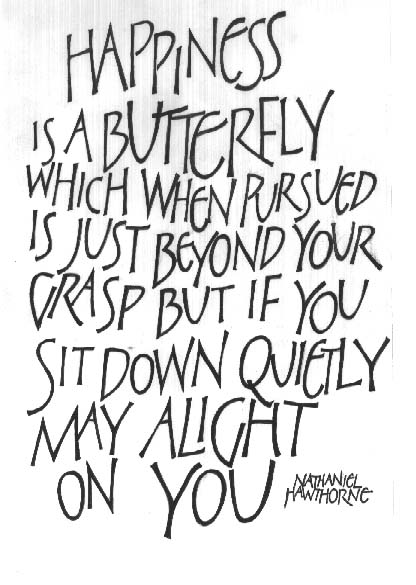
| And here's the completed quote, shown at the full size of the original sketch. | |||||||||||
 |
|||||||||||
| I wasn't unhappy with the letters at this point, but they were a little rough. I planned to make a poster and a T-shirt design out of this project, and I knew that if I just blew these letters up on a copier or my scanner, I would lose resolution . So, on to the next step... | |||||||||||
|
|
|||||||||||