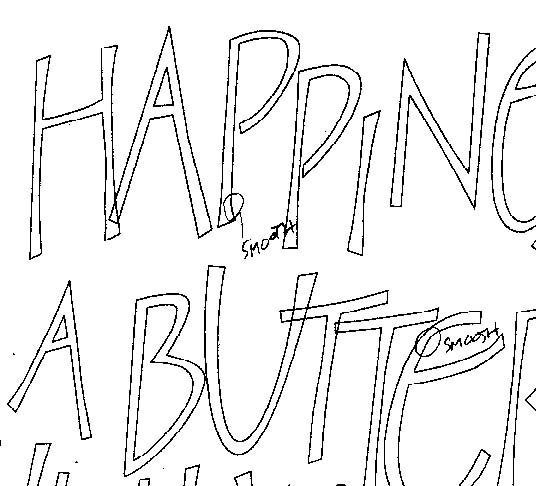
To clean up the ragged edges of my hand-drawn letters, and to give me more flexibility in how I would use the quote later, I next scanned the sketch into the computer and opened it up (as a TIFF file, for the technically inclined) in Macromedia Freehand 8. Freehand is what is known as a "vector drawing" program. It describes drawings to the computer as a series of "vectors" defining the line segments which make up the drawing; each vector describes the direction and length of the next segment. Adobe Illustrator also falls into this category, and I believe (although I haven't used it) that CorelDraw may be much the same.
My goal in this step was to convert my lettering into smooth vector outlines which could then be scaled up or down to any size without losing the sharpness of the edges . There are at least two ways to do this:
1) I could use the Autotrace tool, which automatically finds the edges of a scanned image and converts the shapes into vector outlines, or
2) I could use the Bezier Pen tool, which allows me to fit curves to the letters to form the outlines, manually picking all the corner points myself.
I prefer method 2) above, as it gives me more exacting control; however, I sometimes use the Autotrace tool with satisfactory results (The slanted uncial lettering in "ray ritchie" on my Bio and Contact page was done by autotracing lettering originally written with a Zig calligraphy marker). Using the Bezier Pen tool is a lot more work, though. It's also possible to start with Autotrace and then clean up and modify the result with the Bezier tool. If you aren't following what I'm talking about here, don't worry about it. Just get a copy of one of these programs and go to it yourself - you'll learn fast, I promise.
By the way, once the lettering has been converted to outlines, you can easily fill the outlines with any color you choose, or even with graded fills gradually changing from one color to another, and you can move the letters around, changing the line spacing or the kerning between letters.
Here's a close-up of a portion of the text after converting to an outline in this step. Note that the print-out is marked up with some comments I made to myself about places where I wasn't quite satisfied with the shape. So we could add steps 4a...4x, "Adjust the outlines in step 4 until satisfied."
